Meeting Log

Below is what we went over in past meetings, an Engineering Club “Logbook” of sorts. As the year progresses, I'll continue adding to this page for easy reference.

inventor tinkercad


In this meeting, we went over the basics of Computer-aided design, or CAD. CAD has a myriad of applications in most of the many fields of engineering. At our club, we are starting off with the free online tool TinkerCAD to create models. The high schoolers are using Autodesk Inventor, a professional-grade 3D designing software which students can get for free.

IntroCAD1

TinkerCAD has a variety of blocks which can be dragged and dropped into the workplane field. After being placed, they can be manipulated in various ways (resized, moved, etc) depending on the type of block picked. There are several more complex blocks which can be more confusing to use, but learning how to use them comes with practice.
----------
Inventor is a little more advanced. To use it, first click the “Start 2D Sketch" button in the top left of the screen; Then, pick a plane to start your sketch on, from what should look something like the image below: IntroCAD2
You can now start your sketch. Whatever you sketch here can be "extruded" into the 3rd dimension: after finishing your sketch, press the "finish sketch" button in the top right corner; then, next to the "Start 2D Sketch" button, click the "extrude" button.

IntroCAD3
This gives you a few options. You can select a face to extrude, as well as a direction to extrude in. Under output, you have some boolean options: The first two are the most commonly used, allowing you to switch between a solid or a hole. After making an extrusion, you can select its faces to make sketches on. There's a lot more to Inventor (like dimensions and such), this is just a little bit of what it can do.

With both of these programs, you can create amazing things. CAD has limitless possibilities and applications; Even outside of specific engineering fields, it can be used in medical procedures , or designing and 3d printing an entire house! In summary, CAD is a really cool way to make abstract ideas and concepts come to life!

If you want to learn more about TinkerCAD and Autodesk Inventor, feel free to email me at matthewst33l@gmail.com at any time!


Car1


This was the meeting where we first put our CAD skills to use. Our goal was to design a 3D model of a car with a cutout for a pipe running through the back of the car and up through a nozzle (see image below). After the model was 3D printed, a balloon would be attached to the top part of the nozzle, which would propel the car forward.

Car1 The car chassis would have two holes for the axles to pass through, and wheels would be attached to the axles (after all, it wouldn't be a good car without wheels). The result would be something like this:

Car2
During the fourth meeting, I 3D printed some of the student’s cars, and we raced them virtually. Two of the cars can be seen up top, which were made by Marco and Vasco Klap.


House2

On the fifth meeting (2/1/2021) we designed model houses. My example house was made to scale to a real house. . 
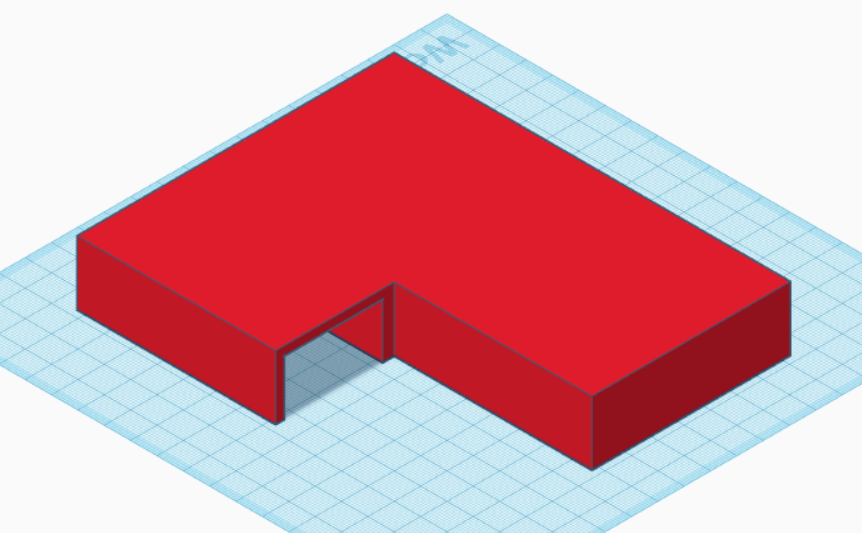
This meeting was a little less structured, with me explaining what I was doing as we went, with students following along making whatever creative changes they deemed worthy (as can be seen above, in a model house made by Emma Viglotti). I started with a 150x150x24 mm box and cut out a portion of it to make an L shape. Then I hollowed out part of the L shape to make a garage.
House2
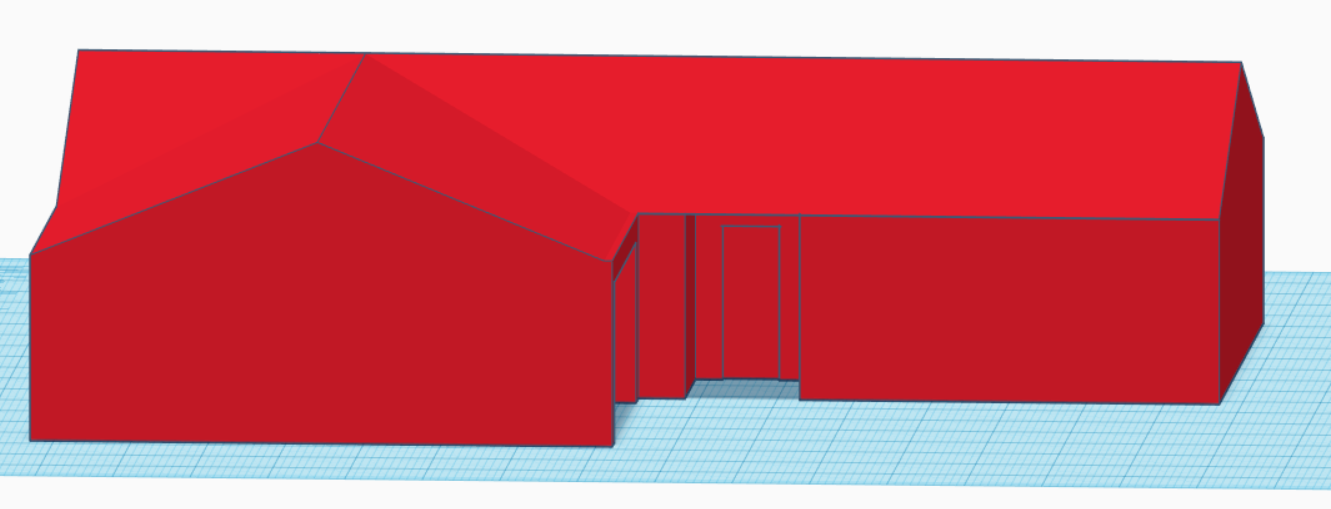
Afterwards, roofs were added using two triangles, an area was cut out for the porch, and a little outline was made to indicate a door.
House3
Then I added a window, and some solar panels (because why not). At this point, one student informed me that I could change the color of the house by clicking the “solid” button in the block options menu. And thus, my new beautiful pink house was finished. But it still needed something… so I added a shower to the garage. As for why... Well, why not?
house